

When it comes time to apply edgebanding to panels for your cabinetry or furniture project, the major question is this: manual, or automatic application? That is, will you be applying the edgebanding by hand, or will you be using a machine? If you are making just one project, or perhaps only an occasional project, manual application of edgebanding is straightforward, easy, and affordable. If, however, you are planning to turn out projects quickly at an efficient rate, automatic edgebanding is the answer for you.
Whether it is a portable unit small enough to set up on top of your workbench, or a massive machine that costs hundreds of thousands of dollars and requires a warehouse sized shop, all edgebanders essentially perform the same function: simply put, an edgebanding machine mechanically applies edgebanding material to your panel or panels by means of adhesive, pressure, and heat.
The way that this function is carried out is slightly unique to each machine, and there are a number of functions that each setup may or may not perform. Today, we’ll take a look at the main processes of automatic edgebanders.
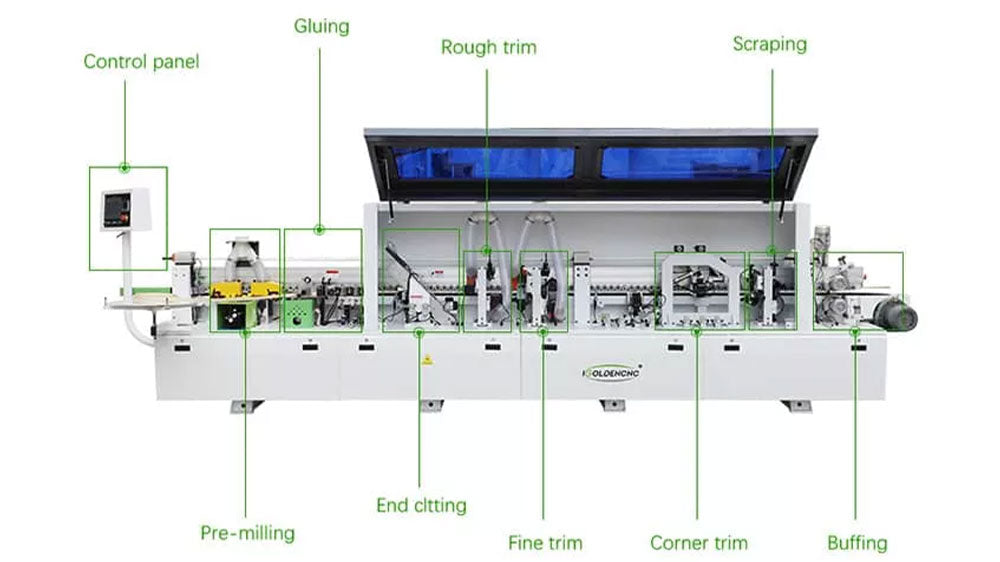
Processes of Automatic Edgebanders
As we have discussed already, the basic function of an edgebanding machine is to mechanically apply adhesive and attach edgebanding to a board. The most basic edgebanders do this, but nothing else, leaving finish work to be done by the craftsman. The most advanced edgebanders put out boards that have the edgebanding applied, trimmed, cleaned, and polished, all in a matter of seconds–all the while, dust and debris is sucked into a collector and out of the air in your workshop.
There is a huge variety of edgebanders on the market to fit the specific needs of any woodworker. Different models may or may not include any of the functions that we will now discuss; each craftsman has to decide what sort of machine will best serve them or their business. Let’s dive into the process and get an idea of what a really great edgebander can do for you. If you would like to watch instead of read, there is a great video put together by Felder Group that explains the different stages in Edgebander.
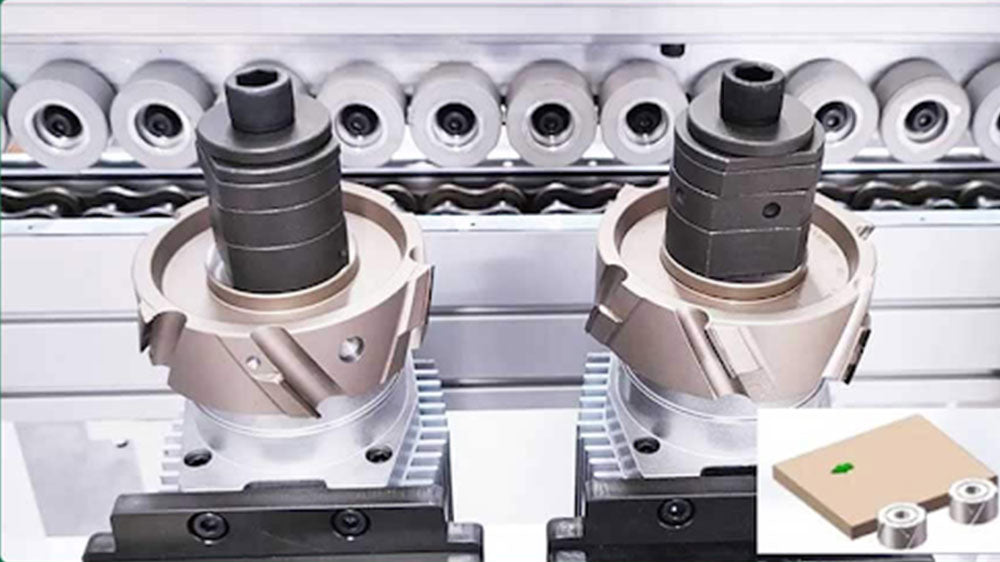
Pre-Milling
When edgebanding is applied to a board, imperfections in the edge of the board will result in a poor finished product. If the edge is uneven, then the glue line will be visible and the finished edge may not be straight. There may also be voids underneath the edgebanding, which can cause failure of the adhesion, either immediately or down the road. The edge may have been poorly cut to begin with, or damaged after cutting. The board also may have swelled or contracted unevenly while in storage.
These imperfections may not even be noticeable at a glance, but can cause very unprofessional results. To solve this, many edgebanders begin by pre-milling the boards, i.e., cutting a new edge immediately before applying the edgebanding. As long as the blades are kept clean and sharp, this absolutely ensures the best possible adhesion and a top-notch finished product.
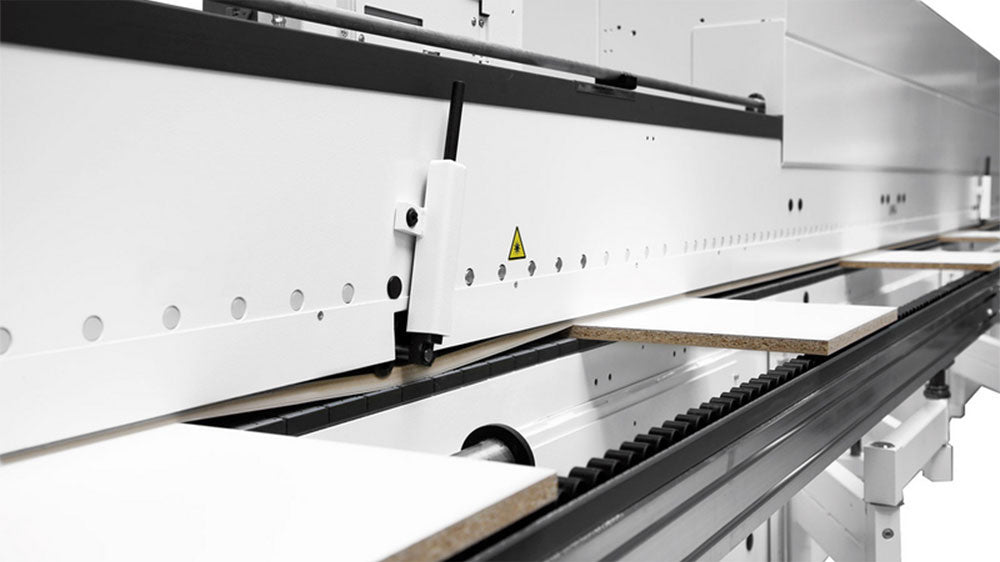
To anticipate this step, craftsmen may cut their boards just slightly larger than needed for their finished product, and set the machine to pre-mill them to the perfect dimensions. The boards are pushed automatically by a series of rollers through the premilling station, after which they are ready to begin the process of edgebanding adhesion.
Check out this edgebander premill dissertation from our friend Mad Scientist Automation.
Heating Station
If the boards and the edgebanding are cold when the glue is applied, the glue will rapidly cool, and the adhesion will be compromised. To ensure proper bonding, edgebanders can heat the boards and the edgebanding before the glue is applied, usually by means of infrared illumination. Heating the edgebanding also makes it soft and pliable. The edgebanding is stored and fed through the machine on large rolls, and, especially in cold shops in the wintertime, cold banding can split as it is rolled through the machine onto the boards.
Adhesive Application / Glue Pot
Most edgebanding is applied with “hot-melt” adhesive.This is glue that is stored in the form of solid pellets and fed into the edgebanding machine this way. In the machine’s “glue pot,” the pellets are brought to high temperatures. At around 150 degrees Celsius, the glue melts, and is ready to form a bond between the boards and the edgebanding. The glue needs to stay at or near this temperature for a specific period of time in order to form an optimum bond.
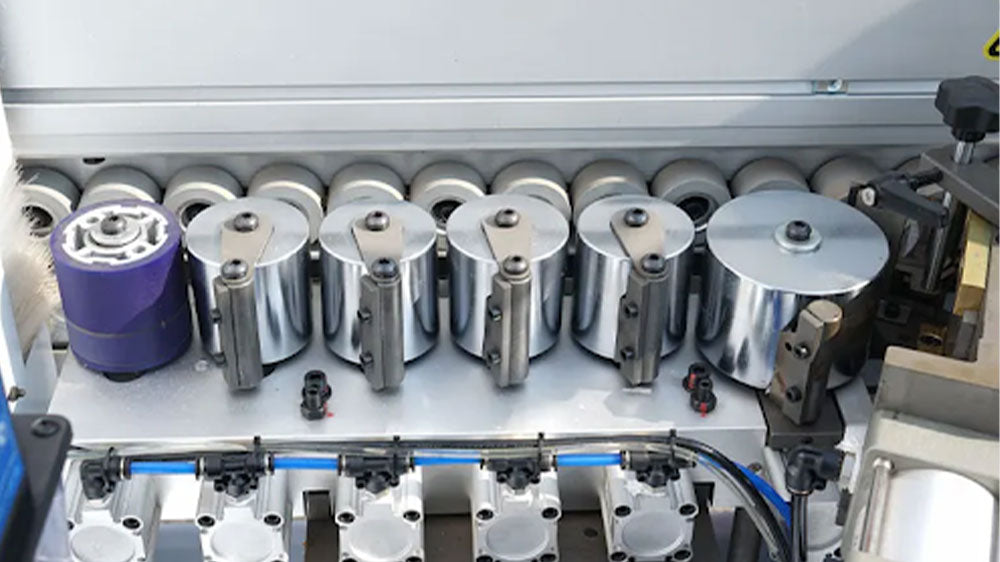
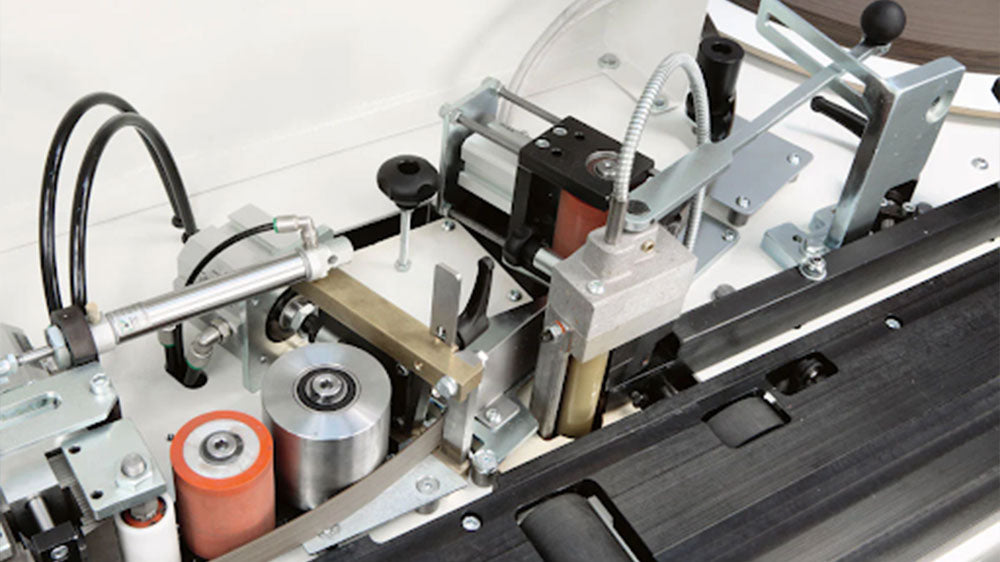
Pressure Rollers
Once the boards and the banding are heated, the conveyor rollers feed them through the glue applicators. As this is happening, pressure rollers press the banding onto the board. The amount of pressure is adjustable on most machines, and can be set to the ideal level for whatever materials are being used. As the boards pass through this station, the banding is evenly bonded to the board, and any air pockets and excess glue are thoroughly squeezed out.
Trimming
After the boards pass through the adhesion station, the edgebanding will be very quickly bonded to the wood. Once this is complete, there are two dimensions that need to be trimmed from the edgebanding: the length and the height. The banding comes off of a roll, so it must be cut to length after being attached to the board, and the width of the roll should be slightly wider than the thickness of the board to ensure full coverage. Each machine is a bit different in the exact manner in which these cuts are made, but most edgebanders will automatically trim the edgebanding to the exact length and height of the board after it is applied.
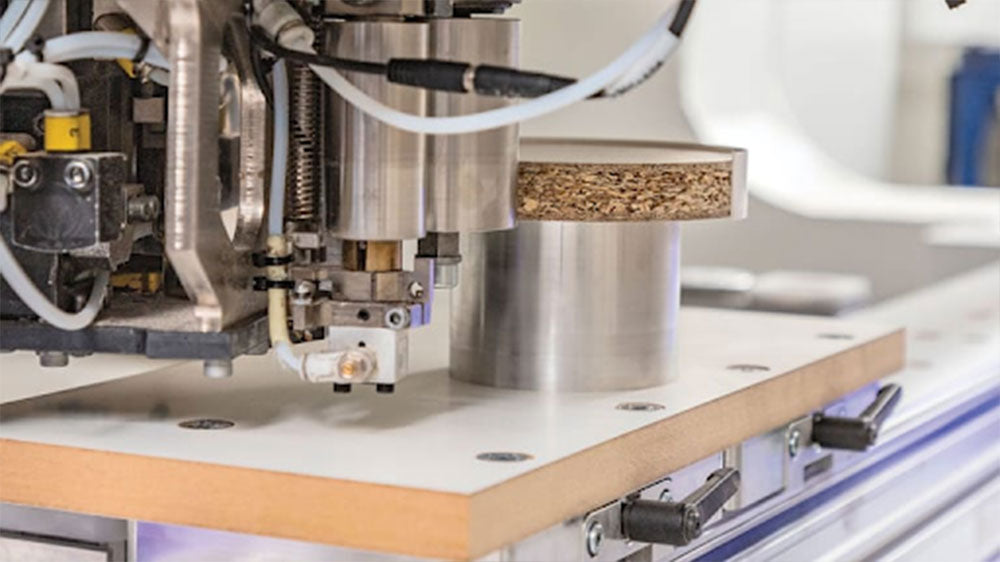
Edge Trimming
In the edge trimming stage of an edgebander, excess edgebanding material is precisely trimmed from the panel's edges. This process ensures that the edgebanding is flush with the panel surface, resulting in a clean and professional finish. Automated edgebanders typically employ blades or cutters to trim the edgebanding to the exact length and height of the panel, enhancing efficiency and accuracy in the woodworking process.
Edge Routing and Buffing
After the edgebanding is trimmed to the length and thickness of the board, the corners where the face of the edgebanding meets the face of the board may be quite sharp. There also may be a small amount of glue that has been squeezed out onto the board surface. These conditions can be resolved by hand, but with a premium edgebander, the work will be done for you. The boards will now pass through a router, which can be set up with different blades to leave the edges beveled, rounded, or otherwise shaped for a pristine finish. The faces are buffed with a light abrasive and polished, then carried to the end of the line by the conveyors, completely ready for installation.
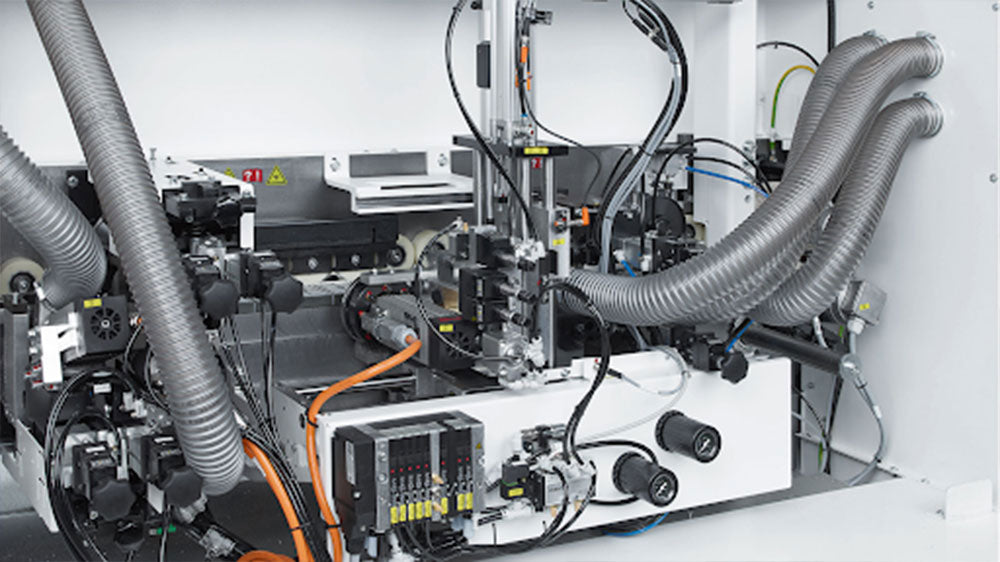
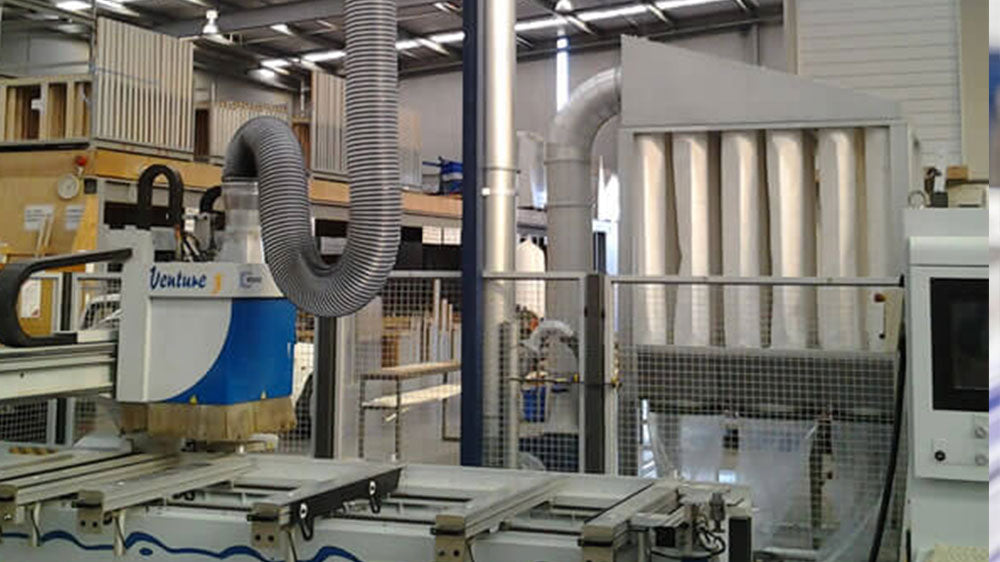
Ventilation / Dust collection
In the ventilation/dust collection stage of an edgebander, dust and debris generated during the edgebanding process are efficiently captured and removed from the workspace. This is crucial for maintaining a clean and safe working environment, as well as preventing dust buildup on machinery and surfaces. Typically, edgebanders are equipped with built-in ventilation systems or dust collection ports that connect to external dust extraction units, effectively minimizing airborne particles and ensuring optimal operational conditions for the machine and the operator.
Conclusion
As you can see, automatic edgebanders are truly powerful machines that can perform an impressive variety of tasks. Many professional woodworkers will agree that a high-performance edgebander is the difference between a fun little business and a booming enterprise. Given the complexity that they can entail, it is no surprise that the high end machines cost tens or even hundreds of thousands of dollars. However, there are many excellent options that are very affordable. Using this general overview of their functions, you can make an informed decision about which edgebander will best serve you and your shop.


